Quick Start Guide
This guide explains how to integrate Ozeki Camera SDK quickly in your application to boost it's functionality. The information below helps you to start using the SDK right after download. You will get a basic scope about the possibilities of using Ozeki Camera SDK and about the solutions you can build with it.
Introduction
Ozeki Camera SDK is a software development kit, which you can use to easily develop an own Onvif support monitoring software in .NET in minutes. In a nutshell, you will be able to reach an Onvif IP camera and perform various actions like moving, zooming, motion detection alarming, live webstreaming, recording, applying filters to the image and so on.
This guide will show how you can start to use Ozeki VoIP IP Camera SDK (named OzekiSDK.dll). After reading through this article you will be familiar with your possibilities and you will be able to decide, which IP Camera solution you need in order to make your company work more effective and profitable.
More information about Ozeki Camera SDK
Prerequisites
Ozeki Camera SDK is basically a .NET solution so you will need to have the development environment and background tools for .NET to be able to use the SDK. The basic developer requirements are shown in Figure 1.

Recommended video
Take a look at this video guide that explains how you can setup an IP Camera.
The necessary prerequisites are the below:
- Internet connection
- IP Camera
- Windows PC (Hardware and software requirements)
- Ozeki Camera SDK (Download)
- Visual Studio 2010 or newer
- Microsoft .Net Framework 4.0
In order to use your IP Camera with your PC you need to connect both to the same network.
Setup Ozeki Camera SDK
Step 1 - Download Ozeki Camera SDK
You can download and use the free trial version of Ozeki Camera SDK using the following link: Download Ozeki Camera SDK free of charge. The trial version has some limitations but you can try all the functionalities of the SDK with the trial. If you have decided to build a more professional IP Camera Solution, you can choose from the wide selection of licenses and buy the SDK with the exact functionalities you want to use.
After downloading Ozeki Camera SDK, you will need to install it to your computer. The installation wizard will lead you through this process. You can change some basic settings during the installation, like the target folder but you can also install the SDK without any modifications.
Step 2 - Install Ozeki Camera SDK
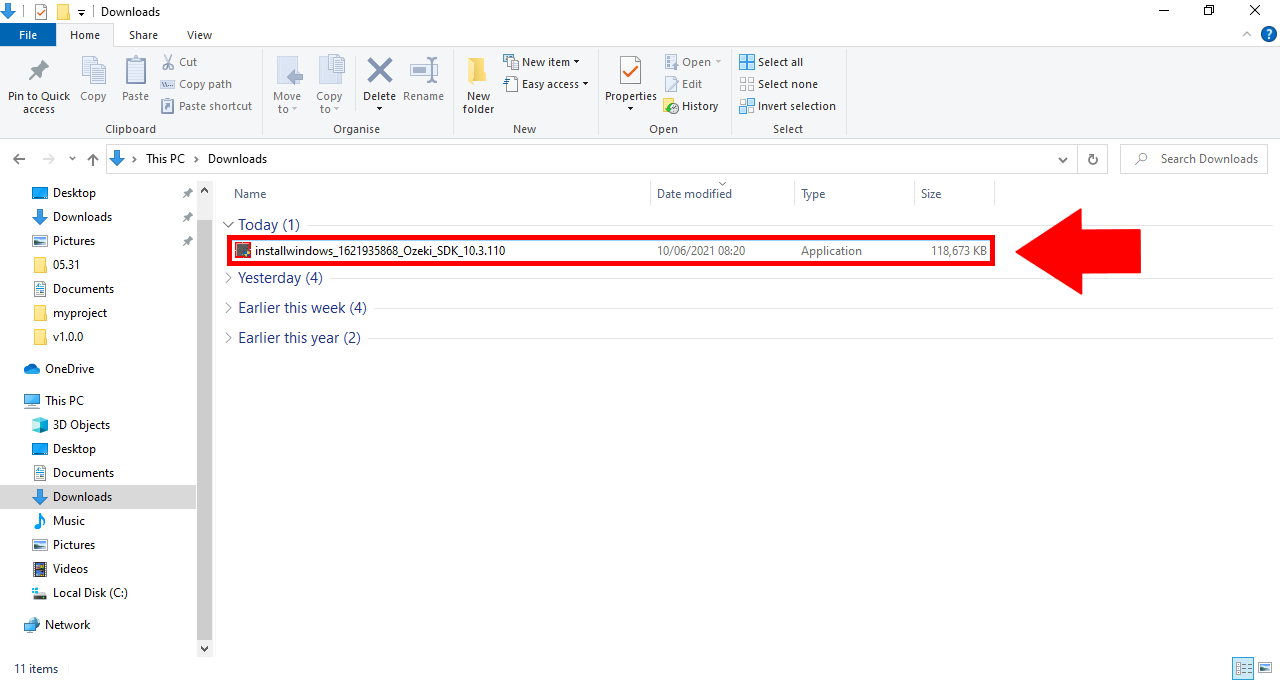
Run the downloaded file.
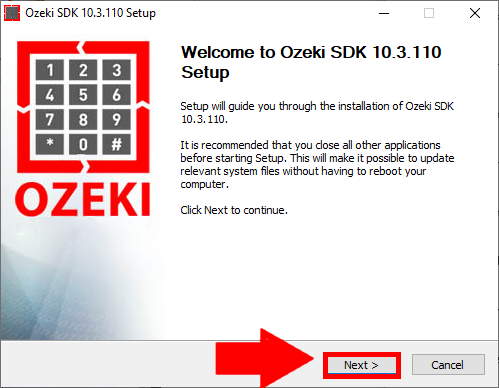
The installation wizard will start with a welcoming page that will tell you that the Ozeki Camera SDK will be installed on your computer (Figure 2). Click on the 'Next' button.
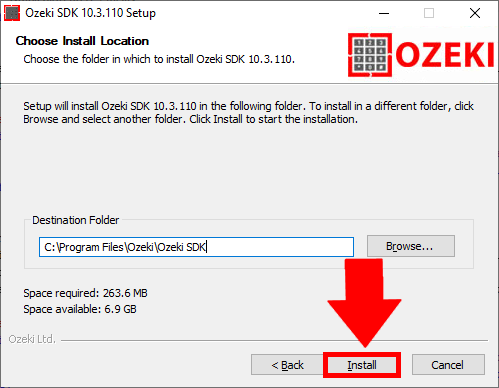
When you pressed the Next button on the first window, you will get to another one that allows you to select the installation folder for your SDK (Figure 3). The default folder for installation is the C:\Program Files\Ozeki\Ozeki SDK folder, but you can change this if you wish. Click on the 'Install' button.
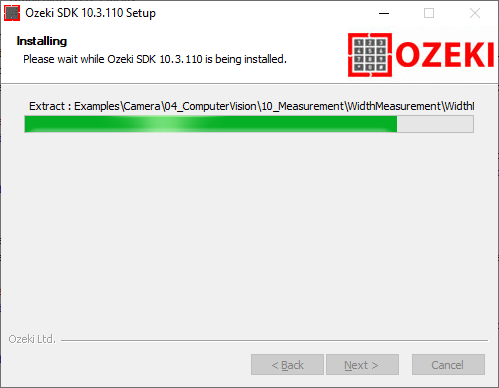
The installation process is shown by a progress bar (Figure 4. The installation can take some time determined by your hardware configuration. Please wait while Ozeki IP Camera SDK is being installed.
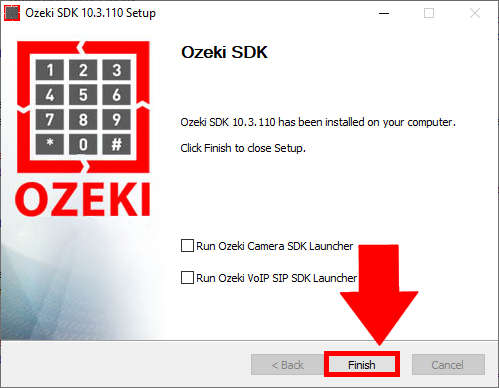
When the installataion is complete, then the window on Figure 5 will inform you about it and it will ask you whether you want to run the Ozeki Camera SDK Launcher. Click on the 'Finish' button.
Step 3 - Build your first IP camera project
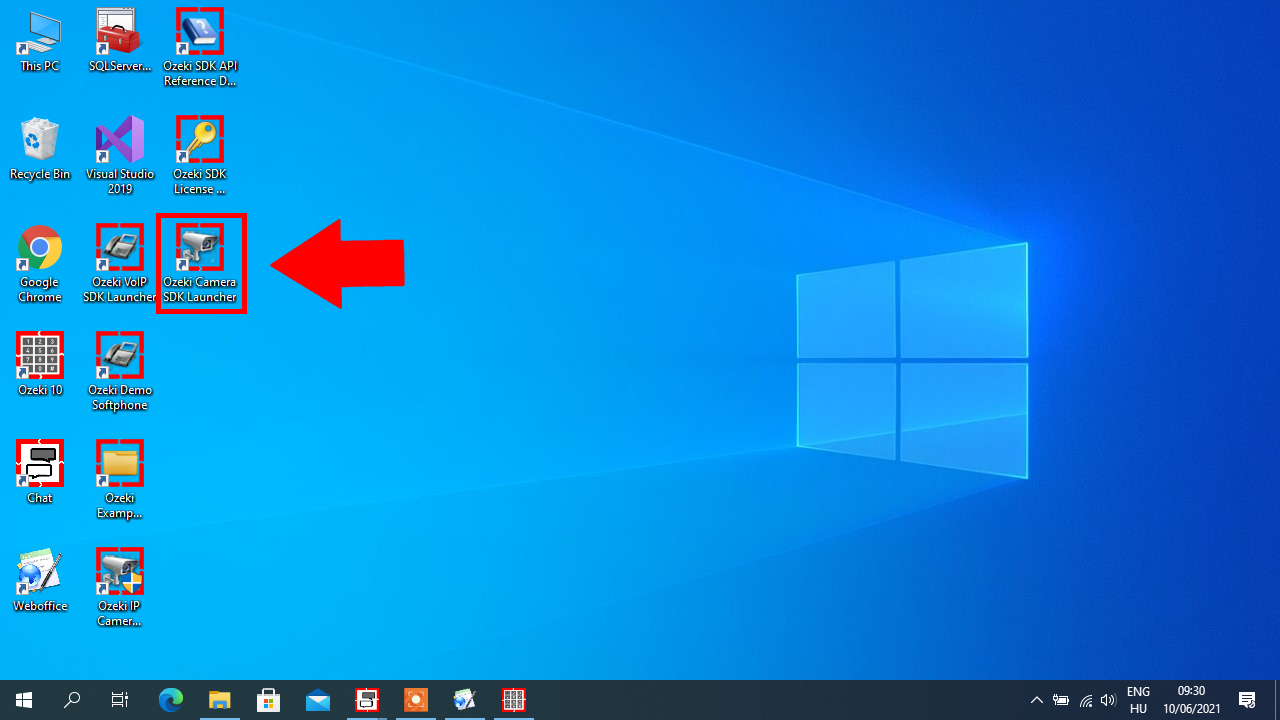
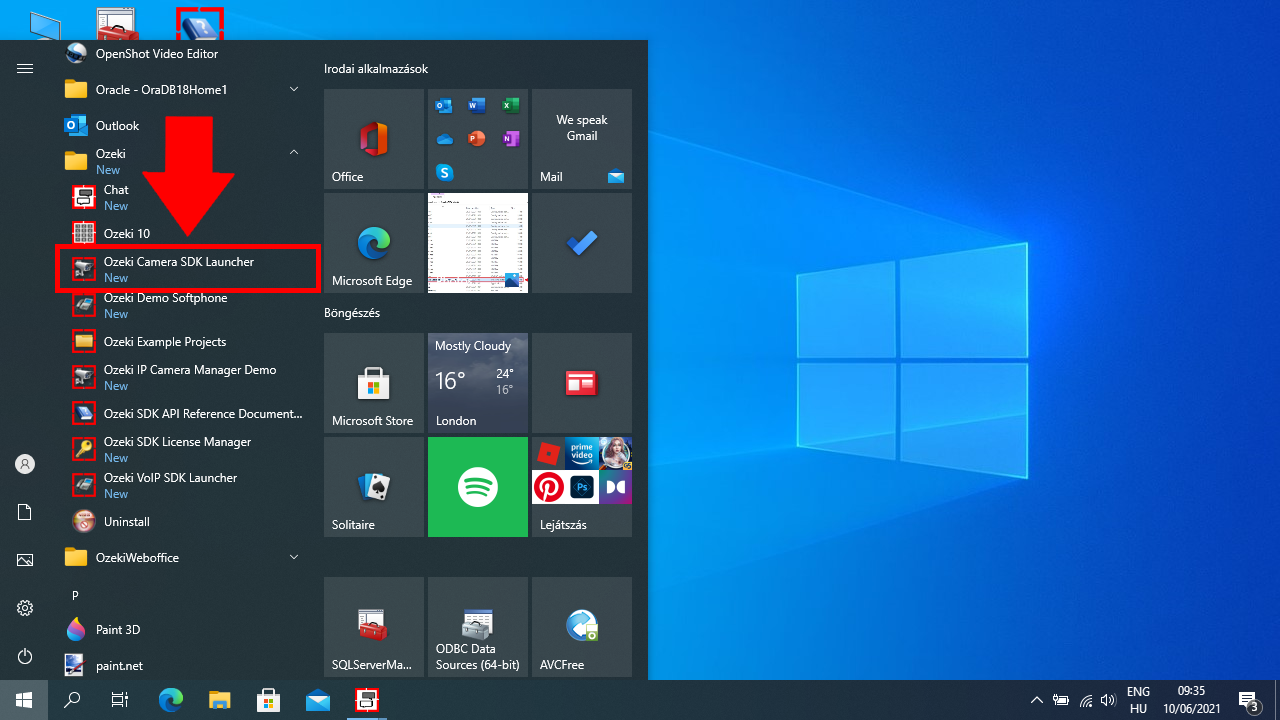
You can either start Ozeki Camera SDK Launcher from the desktop (Figure 6) or from the tray (Figure 7).
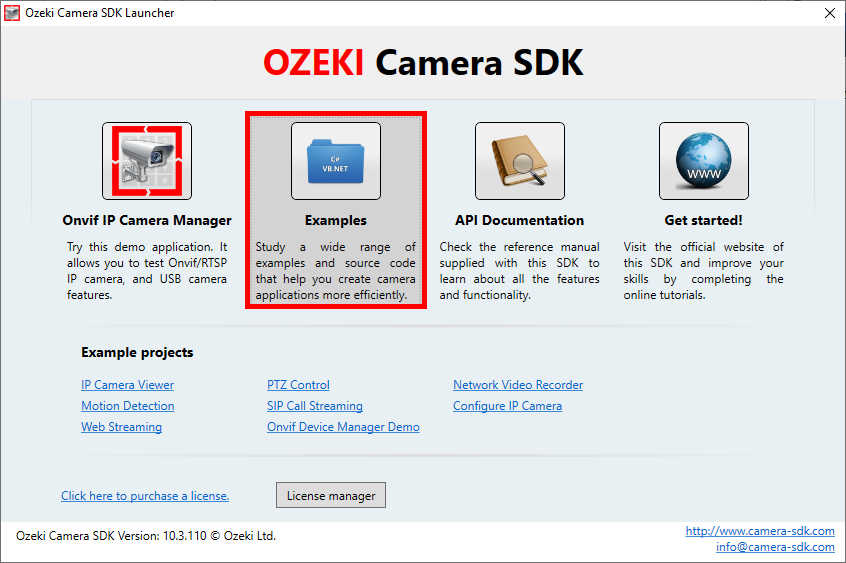
On the GUI of the Launcher (Figure 8) you can reach the demo program, the example codes, the API Documentation and a link to the manual of the Ozeki Camera SDK. Click on the Examples.
You can also reach the example codes from the desktop (Figure 9).
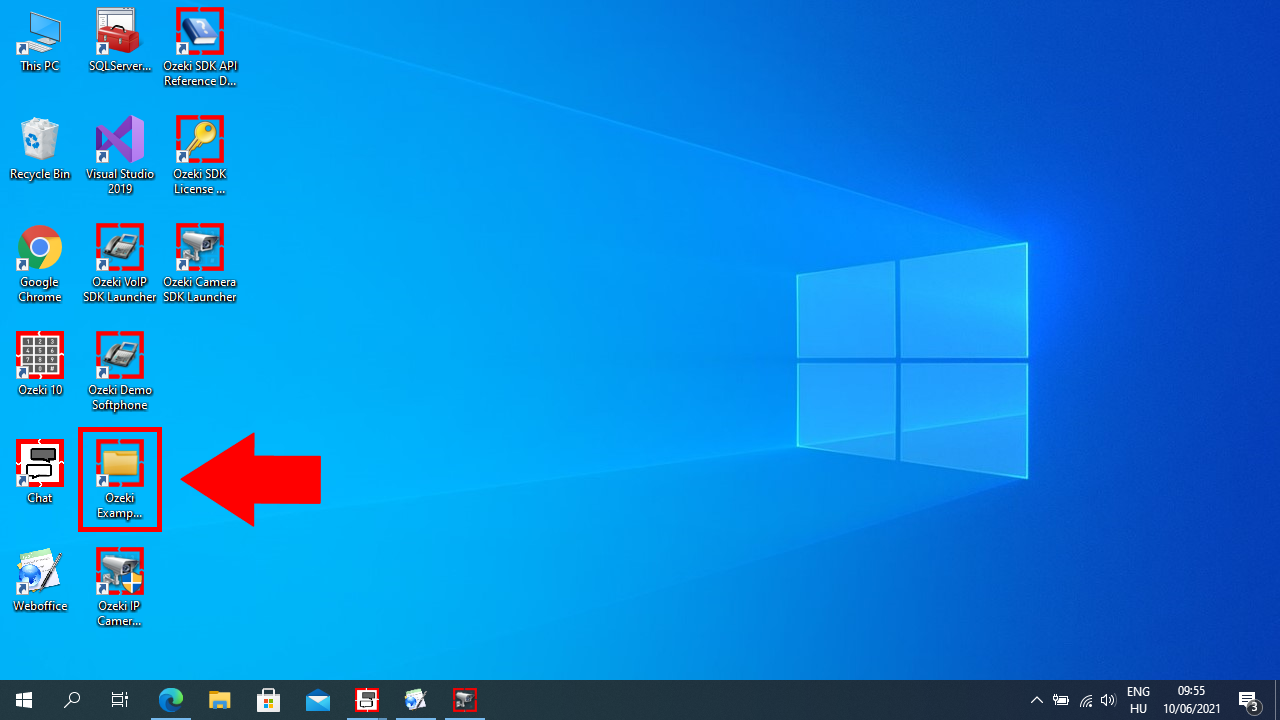
After opening the Examples folder (Figure 10) you will find a lot of subfolders.
These are the example codes you can use (along with the SDK itself) to create applications such as the IP Camera handler,
the IVR, the PBX, the Softphone, etc..
More information about the example projects related to Ozeki Camera SDK.
NOTE: Remember the path of the SDK folder, as you will use it when adding a reference in Visual Studio (Figure 14, 15)
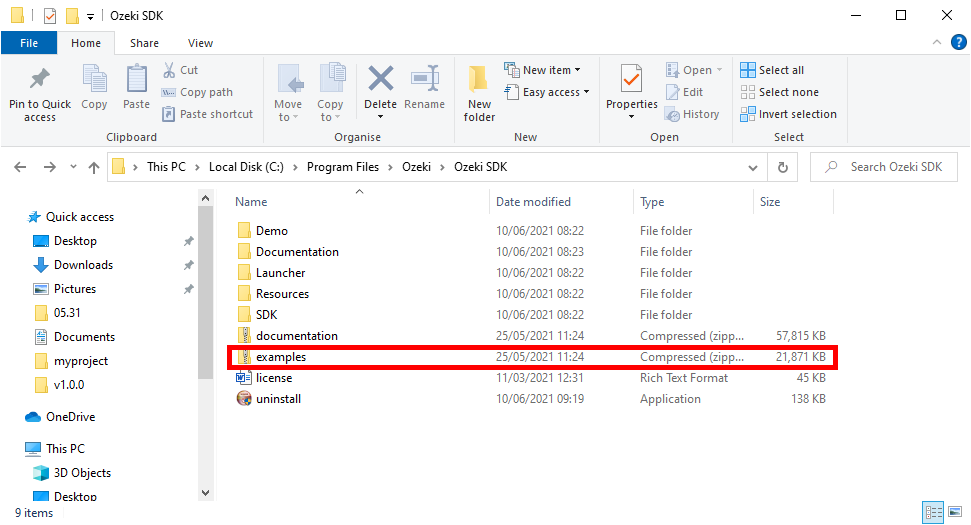
Now you can open the IPCamera folder (Figure 11), where you can open and build your first IP Camera Visual Studio project.
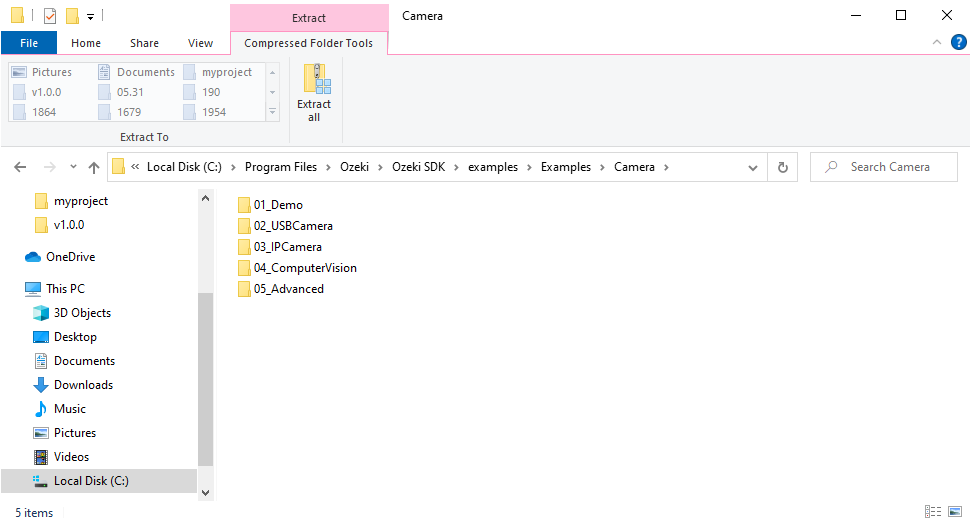
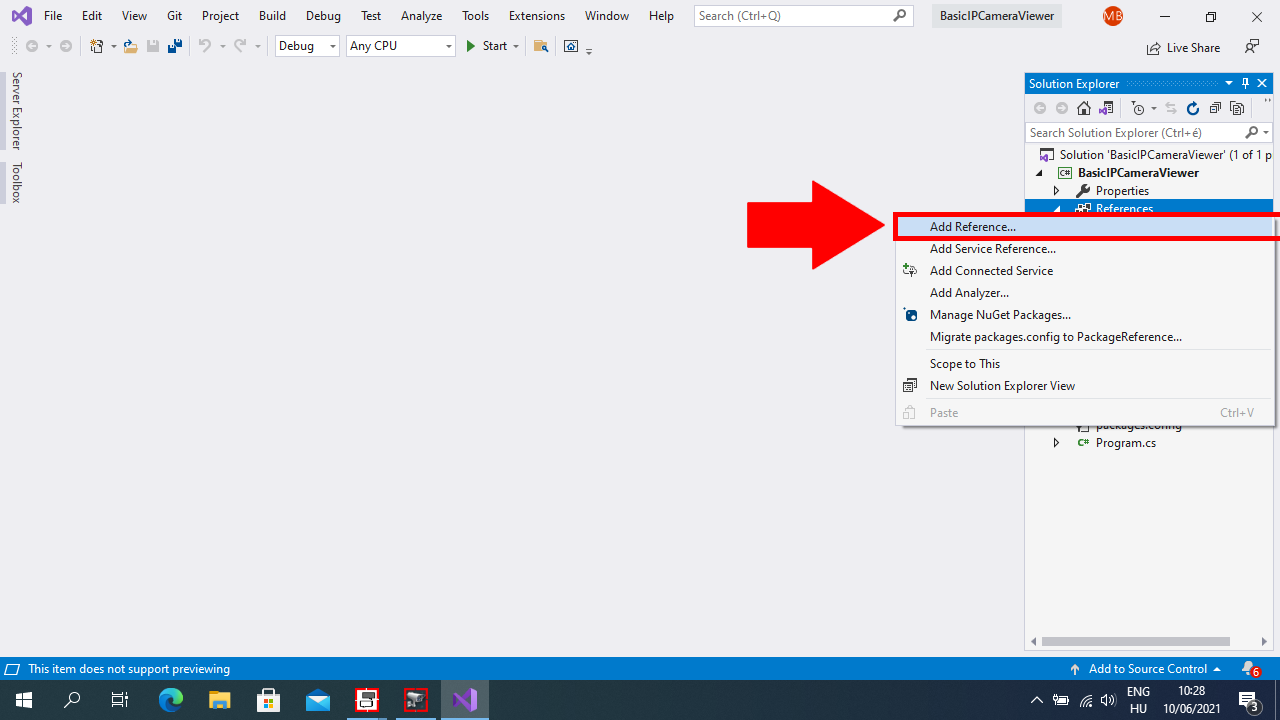
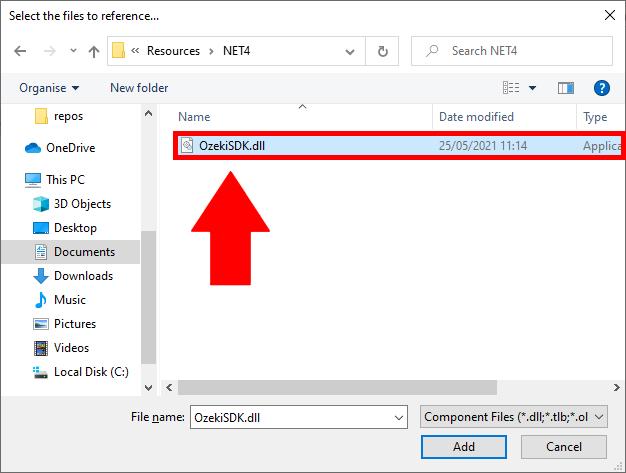
After opening the Visual Studio project you have to add the OzekiSDK.dll to the references. You can do it in the Solution explorer -> References -> Right Click -> Add references.
At Browse tab you can add the path of the OzekiSDK.dll. It is in the Examples folder -> Resources -> NET4 folder.
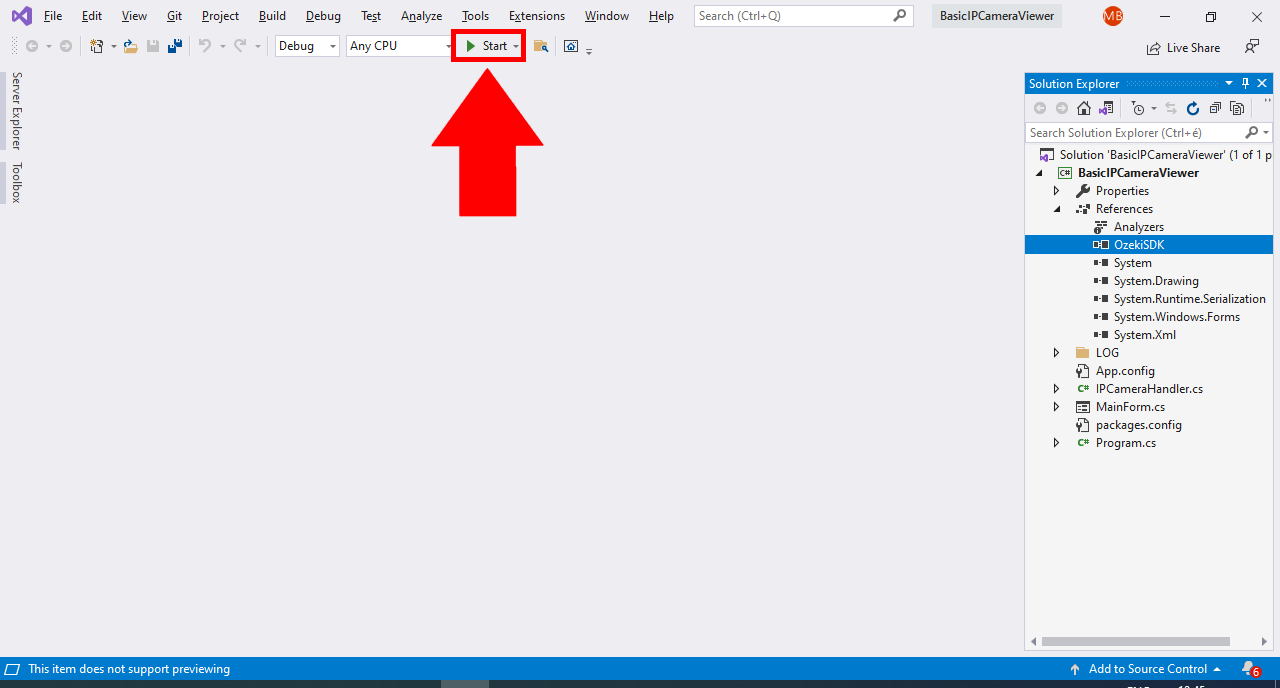
Now you are building the project. You can do it with clicking on the green triangle or push the F5 button (Figure 16).
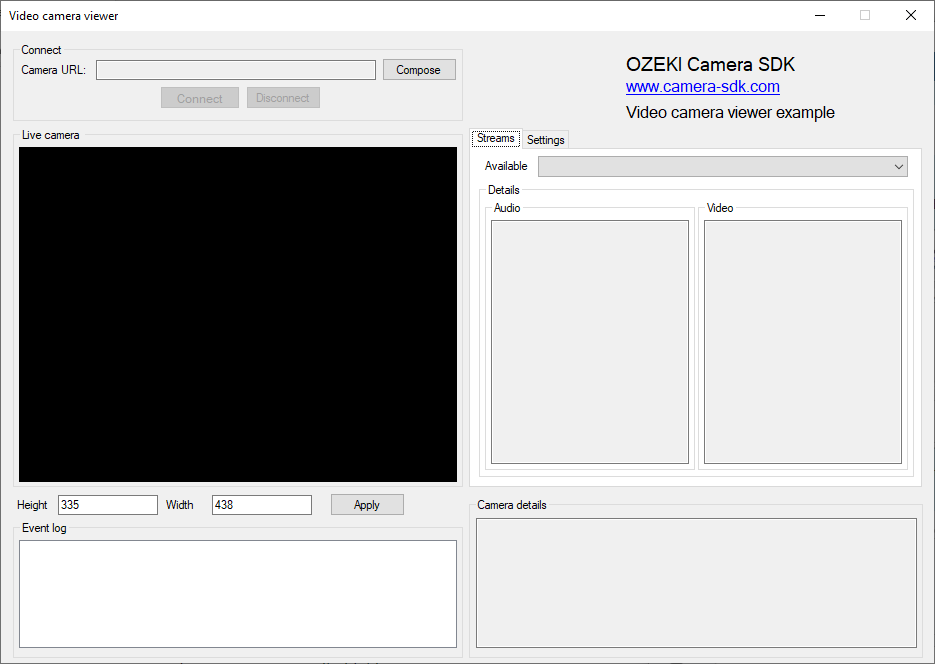
You can try the application, if you give all necessary connection data like IP Camera URL, Username and Password. You can get this data from the producer of the IP camera or by a device discovery application.
It is essential to know that if you install the SDK into a different folder than the default, you will find the .dll to be registered to your programs in that folder.
Build more advanced IP camera projects
Under the Developers Guide, you can find detailed documentation and example codes to help you understand Ozeki Camera SDK better. If you are new to this system, it is highly recommended to start with the Basic Examples.
10 example projects
When you download and install Ozeki Camera SDK, you will get an outstanding number of example programs of all the possible Onvif purposes. No other Onvif SDK provides such great number of examples, and more of it, the Ozeki SDK also gives you detailed documentation to all the example projects, too.
All these projects are installed on your computer with the Ozeki SDK but you can also download and use any of them from the developers guide documentation pages.
- How to create an IP video camera viewer in C#
- How to implement PTZ IP camera motion control in C#
- How to create an Onvif network video recorder in C#
- How to build motion detection and alarm system in C#
- How to send IP camera stream to SIP video call in C#
- How to configure your Onvif IP camera remotely in C#
- How to implement an Onvif IP camera server using C#
- How to display IP camera stream on a website in C#
- How to implement Onvif Network Video Analytics in C#)
- How to implement an Onvif IP Camera Manager in C#
The corporates need surveillance systems to defend their own property. An Onvif standard based system is flexible, cost-effective, smart and future-proof. Different products of manufacturers work together, so no matter what happens to individual companies. This increases flexibility and greater freedom of choice when developing or creating a system. Another advantage is the less time integrating a new equipment. The video analytics feature provides a marketing tool, such as people/object counting, detects when a person remains in a defined area etc.
Summary
To introduce a really effective IP camera solution into your application with Ozeki Camera SDK, you only need to follow some simple configuration steps. Without any special knowledge for IP Camera you can instantly and easily experience the benefits of Camera technology with Ozeki Camera SDK! If you are a .Net IP Camera developer, this is the ultimate choice for you. After downloading you can start to create an IP camera viewer in minutes or you can build an IP Camera Manager system easily and quickly.
If you have any question do not hesitate to contact us at: info@camera-sdk.com
